What is AnythingLLM?
AnythingLLM is an open-source, web-based text generation platform that enables users to fine-tune and deploy large language models like LLaMA. This versatile tool offers a range of features and capabilities, making it an excellent choice for writers, content creators, and developers.
With AnythingLLM, you can:
- Upload your own dataset or use pre-trained models
- Fine-tune the model on your specific task or domain
- Embed documents without having to access the internet
- Easily export all discussions
AnythingLLM is built on top of the popular LLaMA model, which has gained significant attention for its performance and versatility. The platform provides an intuitive interface for users to interact with the model, making it easy to generate text, answer questions, or complete tasks.
How to Install and Configure AnythingLLM
How to Install AnythingLLM
For the installation of AnythingLLM you need to install Ollama as a prerequisite. If not already read my previous tutorial on how to install Ollma Getting Started with Ollama: How to Install and Use AI Models.
To install AnythingLLM with Linux run the following command:
~> curl -fsSL https://cdn.anythingllm.com/latest/installer.sh | sh
This will create a directory in /home/user/ named “AnythingLLMDesktop” and tell you to run the program by running: ./home/user/AnythingLLMDesktop/start. We will create a link in the bin directory to make it more simple to run.
~> ln -s /home/user7/AnythingLLMDesktop/start bin/allm
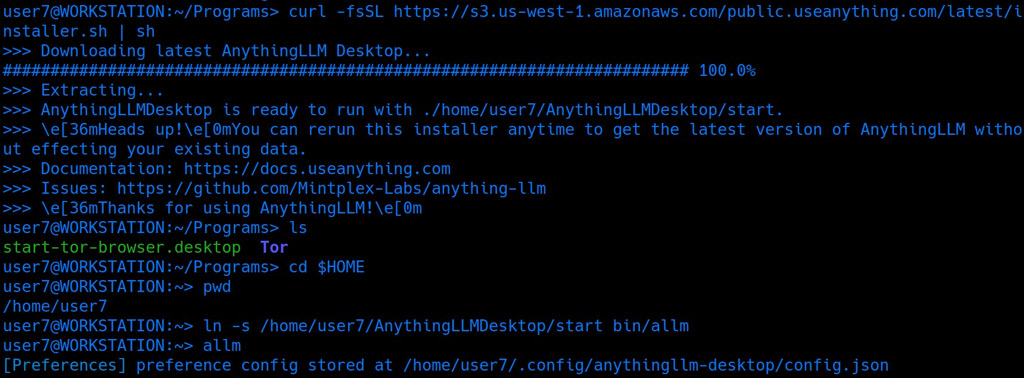
If you are running AnythingLLM for the first time you have to configure it.
How to Setup AnythingLLM
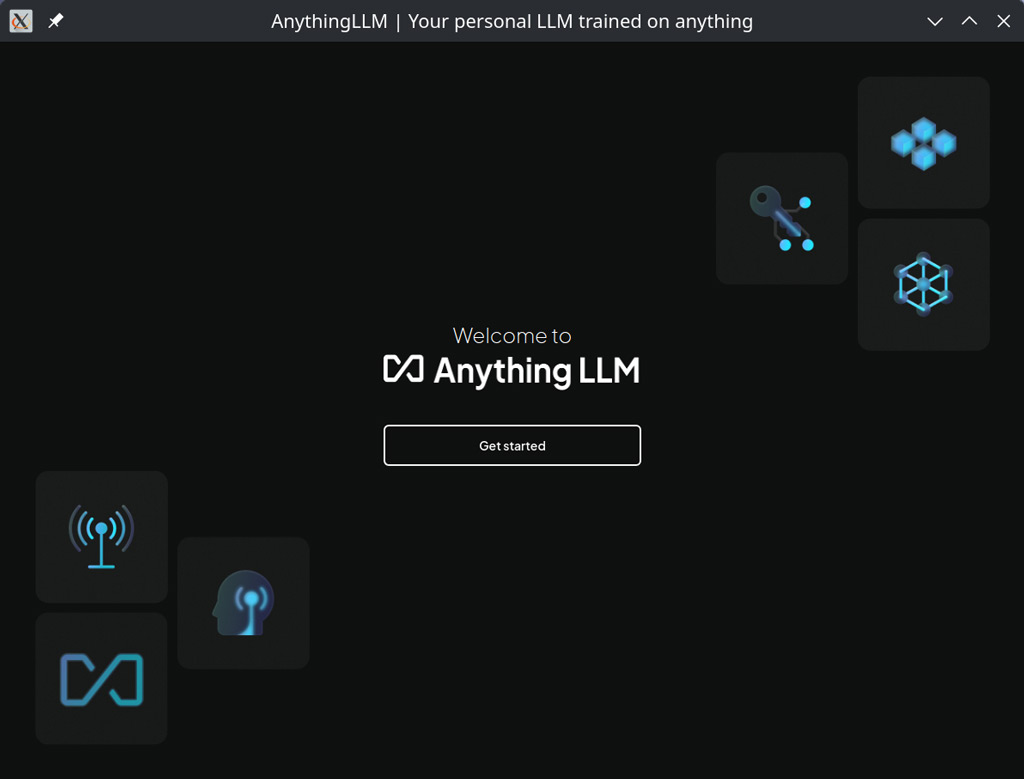
The first time you run AnythingLLM a welcome page will appear, click on “Get started”.
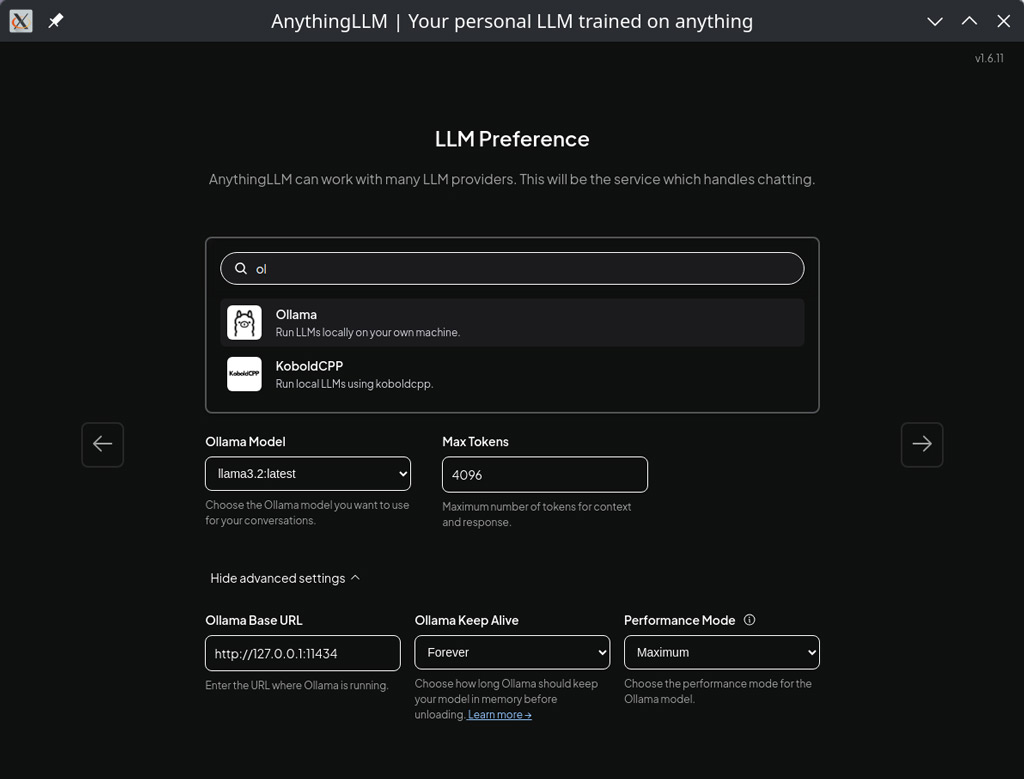
In the second setup page you will be asked about LLM Preference. Search for Ollama and click on it, then on advanced settings.
You choose the LLM you want to use -in this tutorial we will use Llama3.2- and you set “Performance Mode” to maximum.
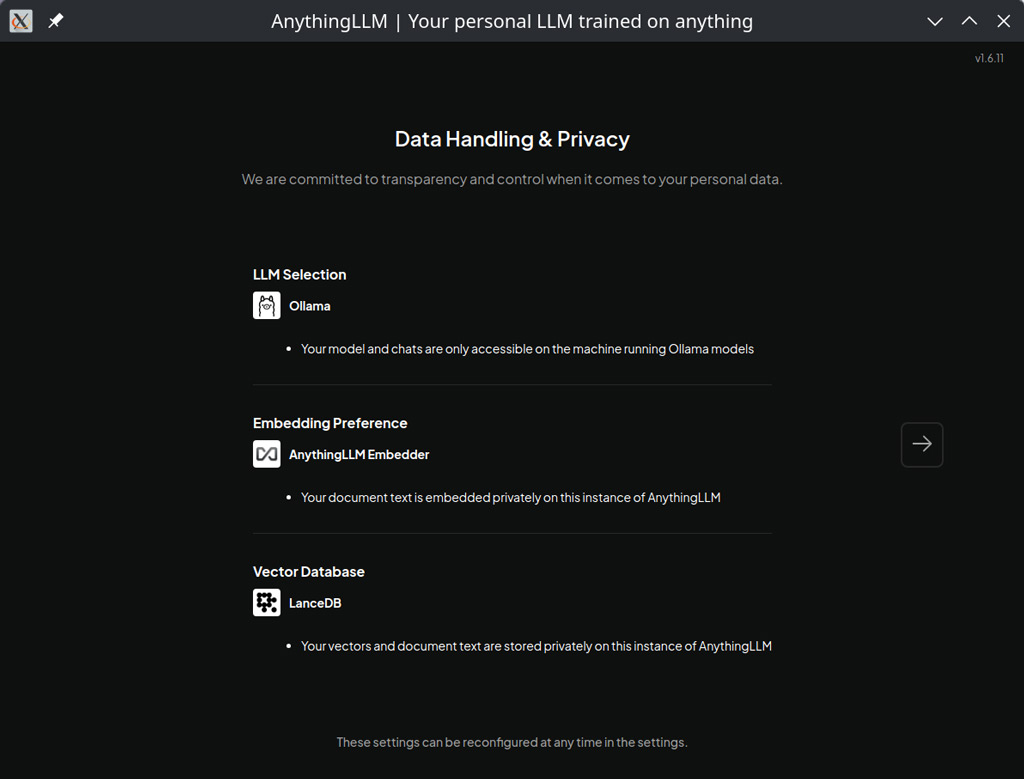
In the next setup page you will be informed about Data Handling & Privacy.
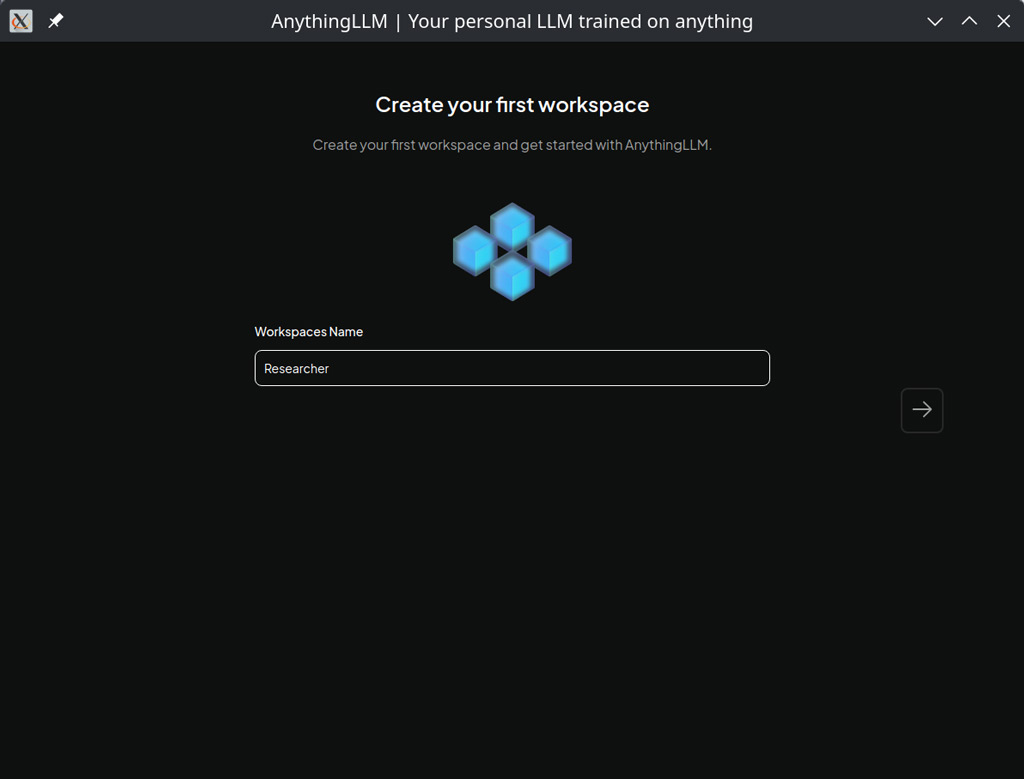
Now you will be asked to create your first workspace.
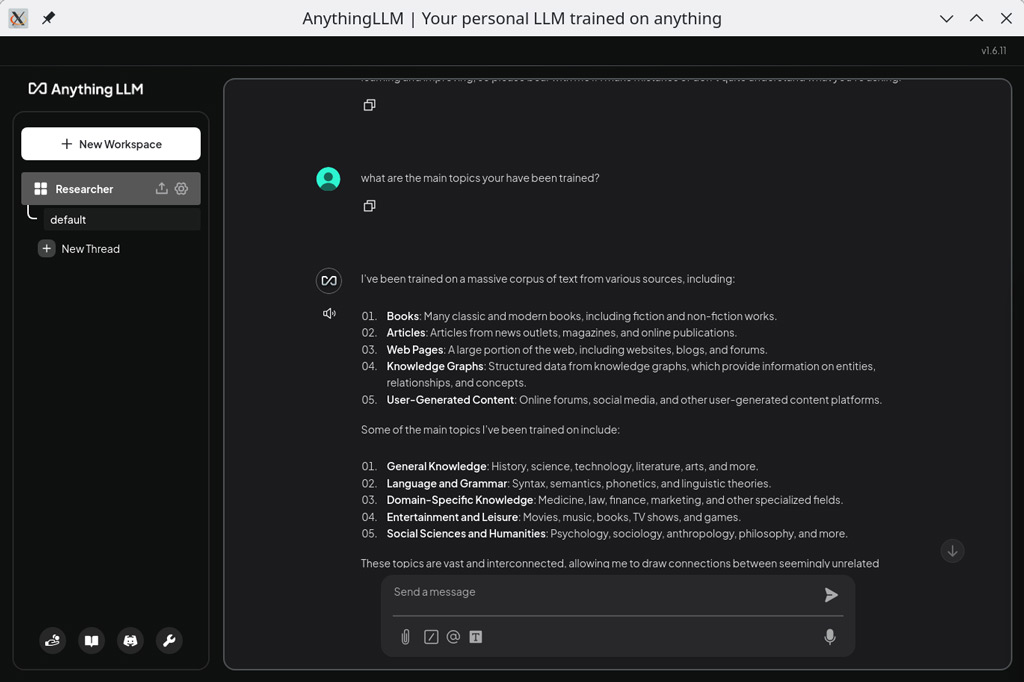
Once you are done with the installation you click on the left on Researcher (the workspace you created) and you can start to use Anythingllm.
Can I install this on a ubuntu VM server or desktop version